
Modern workspaces and learning environments demand seamless screen sharing capabilities. Projectors remain essential tools for expanding digital content beyond personal devices, with corporate surveys showing 3 out of 4 meeting rooms require display setups.
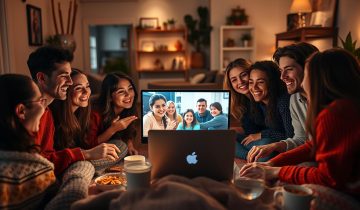
Establishing reliable connections between devices transforms how teams collaborate and share ideas. Educational institutions report 42% higher student engagement when instructors use large-format visuals during lessons. Home entertainment systems also benefit from expanded viewing experiences through proper configuration.
This guide simplifies the technical aspects of device synchronization. Multiple connection methods exist, from HDMI cables to wireless protocols like Miracast. Understanding compatibility factors ensures smooth operation across Windows, macOS, and ChromeOS systems.
Key Takeaways
- Visual displays enhance professional communication and audience retention
- Compatibility checks prevent technical issues during critical presentations
- Wired and wireless methods cater to different environments and needs
- Proper setup maximizes image quality and device performance
- Universal principles apply across business, education, and home use cases
Understanding Laptop-Projector Connectivity
Visual communication systems rely on three core elements working in harmony. The source device delivers content, projection hardware displays it, and transmission tools bridge the gap. Matching these components correctly ensures crisp visuals and uninterrupted presentations.
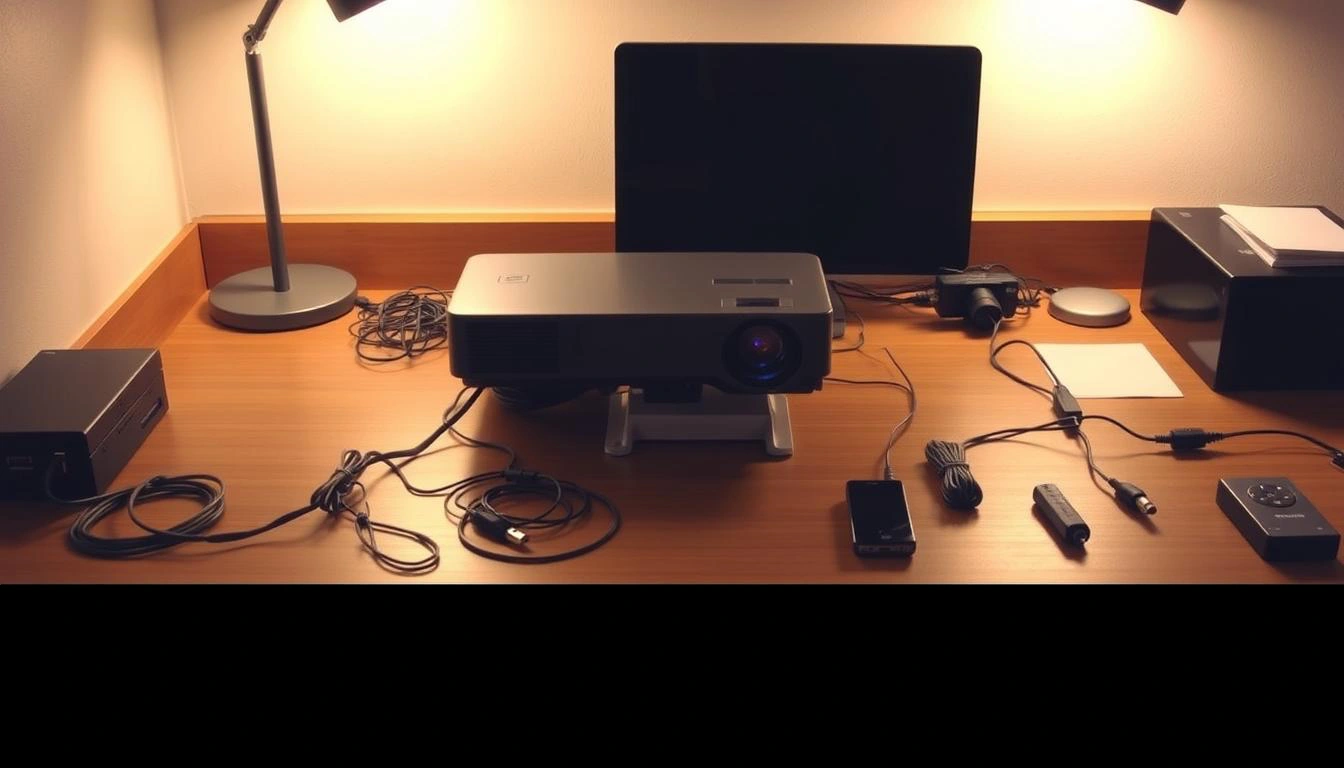
Essential Hardware Elements
Every successful setup starts with compatible devices. Modern laptops output signals through specific ports, while projectors receive them through matching inputs. Transmission cables or wireless protocols complete the chain, acting as data highways.
Port Identification Guide
Recognizing port types prevents compatibility headaches. Here’s a quick reference:
| Port Type | Visual Features | Capabilities |
|---|---|---|
| HDMI | Thin rectangular slot | 4K video + audio |
| VGA | Blue trapezoid with pins | 1080p video only |
| USB-C | Oval reversible design | Video + power delivery |
| Wireless | No physical port | Screen mirroring |
Optimized Setup Advantages
Proper connections eliminate guesswork during critical moments. High-quality cables maintain signal integrity, while correct adapters bridge generation gaps between devices. Wireless options offer placement flexibility but demand stable networks.
Investing time in compatibility checks pays dividends. Presenters avoid fumbling with mismatched ports or distorted aspect ratios. Audiences receive clear visuals without technical distractions, fostering better engagement.
how to connect laptop to the projector
Reliable screen sharing forms the backbone of effective presentations and collaborative sessions. Professionals benefit from understanding multiple wired options to accommodate diverse equipment setups.

HDMI Interface Protocol
Modern systems favor HDMI for its unified audio-visual capabilities. Follow these steps for optimal results:
- Confirm port availability on both devices
- Power down equipment before linking components
- Insert connectors fully until click engagement
- Activate projector first, then laptop
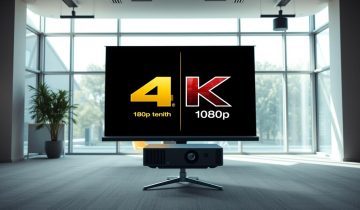
This method supports high-definition content delivery up to 4K resolution. Built-in audio transmission simplifies multimedia playback.
Legacy and Alternative Links
Older hardware often requires VGA implementation. Key considerations include:
| Connection | Resolution | Audio Support | Stability |
|---|---|---|---|
| HDMI | 4K UHD | Integrated | Excellent |
| VGA | 1080p | Separate cable | Good |
| USB-C | 4K | Optional | Variable |
VGA users must attach supplementary sound cables for complete functionality. USB-C adapters provide flexibility but require verification of video transmission standards. Secure all threaded connectors to prevent signal degradation during use.
Display configuration completes the process. Access system preferences to select extended or mirrored modes matching presentation requirements. Test setups beforehand to ensure proper scaling and aspect ratios.
Setting Up Wireless Connections
Wireless technology revolutionizes presentation dynamics by removing physical constraints. Modern systems support two primary methods for cable-free setups: Bluetooth pairing and Wi-Fi-based screen mirroring. Both approaches maintain professional standards while offering spatial flexibility.
Bluetooth Pairing Process
Establishing Bluetooth links requires three steps:
- Enable discovery mode on both devices
- Initiate pairing through system settings
- Confirm connection stability
Most projectors display visible indicators when ready for pairing. Navigate to display preferences to activate extended screen modes after successful synchronization.
Wi-Fi Screen Mirroring
Network-based sharing delivers higher resolution support compared to Bluetooth. Follow this comparison for optimal results:
| Feature | Bluetooth | Wi-Fi |
|---|---|---|
| Max Resolution | 1080p | 4K |
| Latency | Higher | Lower |
| Range | 30 ft | 50 ft |
Wireless display configurations demand updated network adapters and interference-free environments. Conduct test runs before live events to verify signal strength and content clarity. Advanced systems allow simultaneous use of built-in screens and projected displays for multitasking.
Customizing Display Settings & Troubleshooting
Optimal visual output requires precise configuration of digital interfaces. Display settings bridge the gap between laptop screens and projection systems, ensuring professional-grade presentations. Tailoring these parameters addresses common challenges like mismatched resolutions and improper aspect ratios.

Adjusting Display Resolution and Aspect Ratio
Native resolution alignment prevents pixel distortion. Windows users access settings through Display Properties, while macOS employs System Preferences. This table shows recommended configurations:
| Content Type | Resolution | Aspect Ratio |
|---|---|---|
| Business Slides | 1920×1080 | 16:9 |
| Spreadsheets | 1280×720 | 16:10 |
| Video Content | 3840×2160 | 21:9 |
Changing Display Modes and Preferences
Presentation strategies dictate screen management choices. Use these keyboard shortcuts for rapid adjustments:
| Function | Windows | macOS |
|---|---|---|
| Mirror Screens | Win + P | Cmd + F1 |
| Extend Display | Display Settings | Arrangement Tab |
Troubleshooting Common Issues
Systematic diagnostics resolve most projection challenges. Follow this priority list when problems occur:
| Issue | Solution | Prevention |
|---|---|---|
| No Signal | Check input source | Label cables |
| Blurry Image | Match resolutions | Save presets |
| Audio Failure | Verify output device | Test pre-show |
Graphics driver updates often resolve compatibility conflicts. For persistent problems, consult manufacturer documentation for firmware patches. Regular system maintenance ensures reliable performance across presentation environments.
Enhancing Your Projection Experience
Presentation quality hinges on meticulous setup details beyond basic connections. Proper alignment and environmental adjustments transform functional displays into engaging visual experiences. These refinements ensure audiences focus on content rather than technical imperfections.
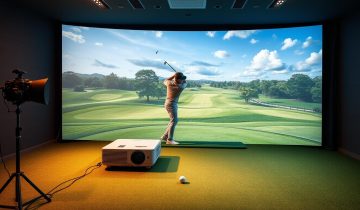
Optimizing Projector Position and Focus
Positioning requires careful calculation of throw distance and screen height. Most projectors include calculators in their manuals or online tools. Angled placements demand keystone correction to prevent trapezoidal distortions.
Dedicated projection screens outperform white walls by 68% in color accuracy tests. Matte surfaces reduce glare while maintaining sharpness. Portable options offer flexibility for presenters using multiple venues.
Preparing for Successful Presentations
Lighting conditions dramatically affect visibility. Balance ambient light with these guidelines:
| Content Type | Ideal Lux Level | Screen Type |
|---|---|---|
| Data Charts | 300-500 | High Contrast |
| Video Playback | 50-100 | Light Rejecting |
| Group Workshops | 200-300 | Ambient Light |
Wireless presenters with laser pointers maintain audience engagement. Always test clicker batteries and connection ranges beforehand. Backup cables and adapters prevent last-minute scrambles when switching between devices.
Complete system checks should include audio tests and slide transitions. Arrive early to adjust room layouts and verify internet connectivity. These practices build presenter confidence and ensure smooth content delivery.
Conclusion
Mastering display synchronization unlocks professional-grade communication across industries. Effective setups transform meeting spaces, classrooms, and home theaters into dynamic hubs for visual storytelling. This guide provides the technical foundation for seamless integration between modern devices and projection systems.
Proficiency in both wired and wireless methods prepares users for diverse presentation scenarios. Quality equipment paired with proper configuration ensures reliable performance during high-stakes events. These skills enhance audience engagement through crisp visuals and uninterrupted content flow.
Strategic investment in compatible accessories future-proofs your setup against evolving tech standards. Regular system checks and display customizations maintain optimal performance over time. Whether presenting financial reports or streaming films, proper synchronization elevates every visual experience.
Adapt these universal principles to your specific environment for consistent results. Technical confidence grows through hands-on application of connection protocols and troubleshooting strategies. Empower your next presentation with professional-grade projection capabilities that command attention.
FAQ
What cables are needed for a laptop-projector connection?
HDMI and VGA cables are the most common options. HDMI supports audio and video transmission, while VGA requires a separate audio cable. Check your laptop’s ports and the projector’s input compatibility before choosing.
Why isn’t the projector displaying my laptop screen?
Ensure both devices are powered on and the correct input source is selected on the projector. Use the Windows Win + P shortcut or macOS display settings to activate screen mirroring or extended display modes.
Can I connect wirelessly without HDMI or VGA cables?
Yes. Wireless screen mirroring via Miracast, AirPlay, or dedicated apps like Epson iProjection allows cable-free connections. Ensure both devices share the same Wi-Fi network for seamless streaming.
How do I fix distorted resolution on the projector?
Adjust the display resolution in your laptop’s system settings to match the projector’s native resolution. Navigate to Display Settings > Advanced Settings on Windows or System Preferences > Displays on macOS.
Why is there no audio through the projector?
If using a VGA cable, connect a separate audio cable from the laptop’s headphone jack to the projector. For HDMI, ensure the audio output is set to the projector in your laptop’s sound settings.
How do I troubleshoot a flickering projected image?
Check cable connections for damage or looseness. Update graphics drivers on your laptop and verify the projector’s refresh rate aligns with your device’s display settings. Test with another cable if issues persist.
Can I use a USB-C adapter for modern laptops?
Yes. USB-C to HDMI or VGA adapters work with laptops lacking dedicated video ports. Ensure the adapter supports video output and is compatible with your operating system.
What’s the best way to position the projector for clarity?
Place the projector on a stable surface, aligned perpendicular to the screen. Use keystone correction and focus adjustments to eliminate distortion. Maintain a distance of 6–12 feet for optimal image size.
 No products in the cart.