
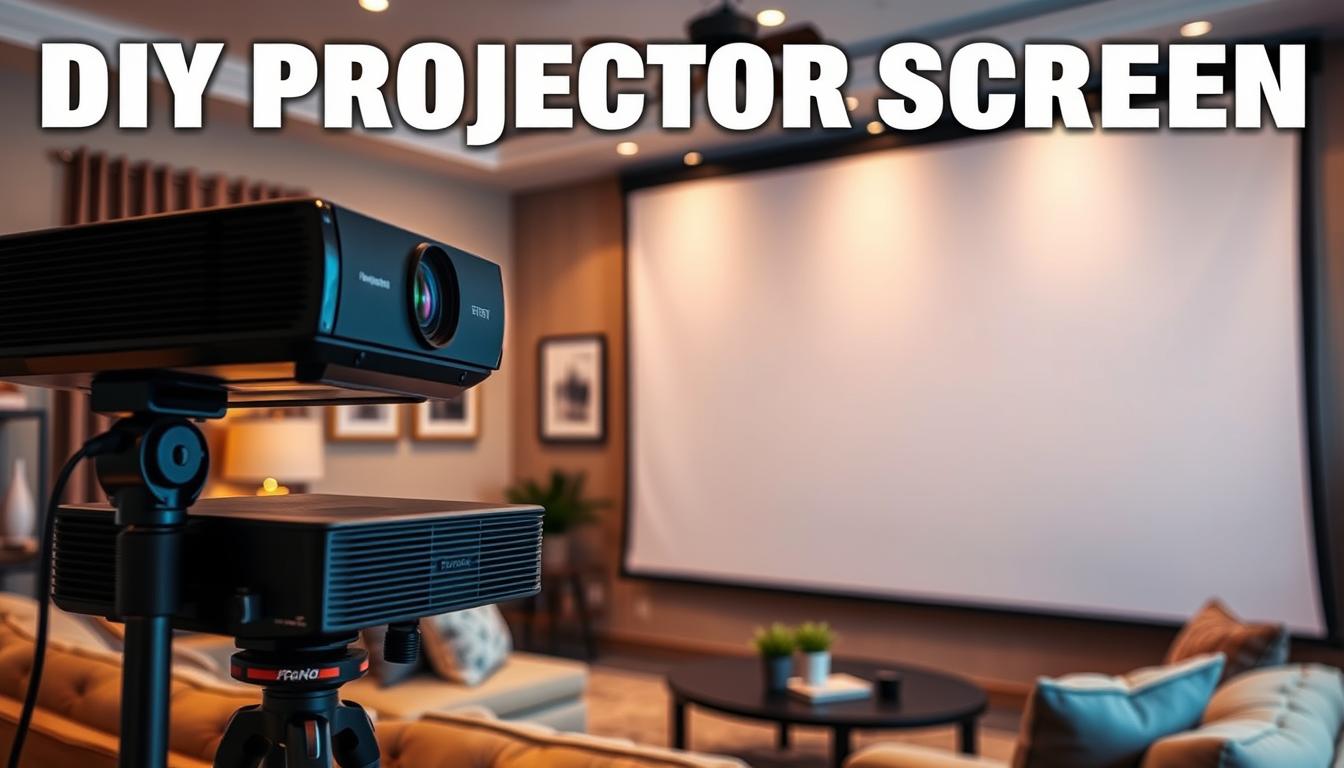
Did you know that over 70% of home theater enthusiasts report that screen quality impacts their viewing experience more than the projector itself? A high-quality display isn’t just about brightness or resolution—it’s the foundation of immersive visuals. Yet, many overlook this critical element, settling for uneven walls or temporary setups that dull their movie nights.

While owning a projector unlocks big-screen potential, pairing it with the right surface transforms ordinary rooms into personal cinemas. Pre-made options often lack flexibility, costing hundreds for sizes or materials that don’t fit unique spaces. That’s where creativity shines: building your own solution ensures perfect dimensions, tailored aesthetics, and budget-friendly results.
Our guide simplifies the process, whether you’re crafting a basic fabric frame or experimenting with advanced ambient-light-rejecting surfaces. We’ll explore tools like tensioned vinyl, blackout cloth, and even portable designs—all designed to maximize clarity without breaking the bank. Ready to turn movie nights into unforgettable experiences? Let’s begin.
Key Takeaways
- Screen quality significantly enhances projector performance and visual immersion.
- Custom-built displays adapt to room layouts and personal preferences.
- Affordable materials like blackout cloth rival commercial screen costs.
- Multiple design approaches cater to beginners and advanced DIYers.
- Proper tension and surface treatment prevent wrinkles and hotspots.
Introduction to Home Theater DIY Projects
Home entertainment has evolved rapidly, with streaming platforms and affordable tech driving demand for immersive setups. Modern households now prioritize personalized viewing experiences over generic store-bought solutions. This shift reflects a broader cultural move toward customization—transforming living rooms into tailored cinematic spaces.

Custom-built displays solve common challenges like irregular wall spaces or ambient light interference. Unlike mass-produced alternatives, these setups adapt to unique room layouts and aesthetic preferences. For example, tensioned fabrics maintain surface flatness, while specialized paints enhance contrast ratios in bright environments.
Three factors make these projects appealing:
- Cost efficiency: Materials like blackout cloth cost 80% less than commercial screens.
- Scalability: Adjust sizing for compact apartments or sprawling basements.
- Performance: Properly measured surfaces eliminate hotspots and color distortion.
Precision matters. A 1/8-inch measurement error can create visible wrinkles or uneven reflection. We recommend laser levels and fabric clamps for flawless alignment. Up next: how to plan dimensions, source tools, and execute designs that rival professional installations.
Planning Your DIY Projector Screen Project
Successful home theater setups begin with precise preparation. Measuring your room’s dimensions determines the maximum size your display can achieve without overwhelming the space. Start by noting ceiling height, wall width, and seating distance—these factors dictate ideal proportions for balanced viewing angles.
Next, evaluate structural needs. A sturdy frame prevents sagging and maintains surface tension. Aluminum extrusion offers lightweight durability, while wooden boards provide cost-effective rigidity. Pair these with fabrics like spandex or acoustic-transparent cloth for optimal light diffusion.
Material choices directly impact performance. High-gain vinyl boosts brightness in ambient light, while matte finishes enhance contrast in dark rooms. Always cross-reference your projector’s throw ratio with screen measurements—this ensures sharp focus across the entire surface.
Create a detailed layout plan marking mounting points and cable routes. Anticipate adjustments: leave extra fabric for tensioning or design modular frames for future upgrades. Precise planning streamlines construction and eliminates guesswork during assembly.
Finally, test your measurements twice. Even minor errors in materials cutting or angle alignment create visible flaws. Laser levels and digital calipers help maintain millimeter accuracy, guaranteeing a polished result that rivals commercial solutions.
Essential Materials and Tools for Screen Construction
Assembling a high-quality display starts with selecting the right components. Material choice directly impacts light reflection and color accuracy. Popular options include blackout cloth for its light-blocking properties, tensioned spandex for smooth surfaces, and specialized paints that mimic commercial-grade finishes.
Hardware forms the backbone of any sturdy frame. PVC pipes offer lightweight flexibility, while aluminum extrusions provide industrial-grade durability. You’ll need connectors, hooks, and adhesive tapes to secure joints and edges. Measure twice: a tape measure and laser level ensure precise cuts for pipes or wooden pieces.
Critical tools simplify the process:
- Fabric clamps maintain even tension during installation
- Power drills create clean holes for mounting hardware
- Utility knives trim excess material without fraying edges
Never underestimate the value of quality tape. Gaffer’s tape secures fabric without residue, while double-sided variants anchor frames to walls. Each step—from cutting pipes to stretching fabric—relies on meticulous planning. Invest in durable materials upfront to avoid sagging or wrinkles over time.
Building Your Own diy projector screen
Crafting a custom display surface requires attention to detail from the first stitch to the final stretch. Proper preparation ensures your visuals remain sharp without wrinkles or sagging. Let’s break down the process into manageable steps.
Start by washing and ironing your white sheet to eliminate creases. Heat settings matter—use medium temperatures to avoid scorching delicate fabrics. Lay it flat overnight to ensure complete dryness before assembly.
Next, reinforce the edges with grommets or heavy-duty tape. This prevents tearing when stretching the material across your frame. Space reinforcements evenly every 8-12 inches for consistent tension distribution.
Secure the prepared sheet to the structure using hook-and-loop strips or binder clips. Work diagonally, tightening opposite corners incrementally to avoid uneven pulls. Check for light gaps—any visible slack distorts projected images.
Finally, inspect the surface under bright lighting. Minor imperfections become magnified during movie playback. Adjust fasteners as needed until the material lies perfectly flat. This step guarantees professional-grade results rivaling store-bought options.
Regular maintenance preserves your setup’s integrity. Retighten attachments monthly and dust the surface gently with microfiber cloths. With careful execution, your creation delivers theater-worthy clarity for years.
Classic Methods: White Sheet and Painted Wall Approaches
Traditional solutions often outperform modern gadgets when simplicity meets functionality. For casual movie nights or impromptu gatherings, a white sheet remains a go-to choice. Its lightweight design allows quick setup—drape it over curtain rods or secure it with clips for instant results.
Preparation matters. Wash and iron the sheet to eliminate wrinkles that distort images. Use binder clips or grommets to stretch the fabric taut across your chosen space. Avoid thick weaves—opt for smooth cotton blends that diffuse light evenly.
For permanent installations, consider painting a dedicated wall. Specialized projector screen paints contain reflective particles to enhance brightness and contrast. Sand the surface first to remove imperfections, then apply three thin coats for uniform coverage. Let each layer dry completely to prevent texture variations.
| Method | Cost | Setup Time | Durability |
|---|---|---|---|
| White Sheet | $10-$25 | 15 minutes | Temporary |
| Painted Wall | $50-$120 | 2-3 days | Permanent |
Both approaches demand attention to surface flatness. Wrinkled fabrics scatter light, while uneven wall textures create hotspots. Test projections at different times to assess ambient light interference. Matte finishes work best in darker rooms, whereas semi-gloss paints handle moderate lighting.
These classic techniques prove that exceptional projector screen experiences don’t require complex tools. Whether hosting backyard films or converting a living room, balance cost and quality with these time-tested strategies.
Advanced Methods: Fixed Frame and Pull-Down Designs
Elevating your home theater requires precision engineering paired with creative problem-solving. Fixed frame designs deliver cinema-grade performance through rigid structures that maintain surface tension. Start by cutting aluminum or wooden beams to exact dimensions—measure diagonals to confirm perfect right angles.
Secure joints with corner brackets and wood glue for stability. Stretch high-gain vinyl across the frame, using clamps to apply even pressure from all sides. This step eliminates wrinkles that degrade projection quality.
Pull-down systems offer space-saving flexibility. Build a roller mechanism using tension springs and durable fabric like retractable PVC. Mount it inside a discreet housing box to preserve room aesthetics. Test the retraction speed to prevent abrupt snaps that could damage materials.
Both methods demand meticulous alignment. Use a laser level to ensure the frame sits parallel to your viewing area. For pull-down variants, lubricate rollers annually to maintain smooth operation. These advanced solutions transform casual setups into professional-grade theaters without commercial price tags.
Outdoor & Portable Projector Screens with PVC Frames
Transform your backyard into an open-air cinema with lightweight materials built for flexibility. PVC pipes offer unmatched portability, letting you assemble a sturdy viewing structure in minutes. This approach works perfectly for spontaneous gatherings or seasonal setups under the stars.
Start by cutting four PVC pipes to form the vertical sides and horizontal frame. Use elbow connectors at each corner for stability. Test-fit the pieces on a flat surface to ensure right angles—even slight misalignments weaken the structure.
Drape a white tarp or blackout cloth over the assembled frame. Secure it with binder clips along the top and sides, pulling gently to eliminate wrinkles. For windy conditions, attach bungee cords to ground stakes or nearby hooks.
This setup shines in backyard environments where permanent installations aren’t practical. Disassemble the components after your outdoor movie night—store pipes and cloth in a compact bag until next time. Simple, adaptable, and cost-effective, this method brings theater magic to any open space.
Conclusion
Crafting a personalized viewing surface merges technical precision with creative freedom. Our guide demonstrates how tailored solutions outperform generic store-bought alternatives through adaptable designs and meticulous execution. Whether transforming a living room or backyard, the right approach balances material quality with spatial constraints.
We’ve explored methods ranging from painted walls to retractable frames—each requiring careful planning and material selection. Proper tensioning eliminates wrinkles, while durable fabrics ensure longevity. Fixed installations offer cinema-grade performance, while portable PVC structures adapt to spontaneous gatherings under the stars.
Success hinges on attention to detail. Measure twice, cut once, and prioritize flat surfaces for distortion-free visuals. Test projections in varied lighting to optimize brightness and contrast ratios. With these principles, even beginners achieve professional results.
Take on the challenge knowing our methods address both aesthetic and functional demands. Your space deserves theater-quality visuals without commercial price tags. Start building today—immersion awaits.

 No products in the cart.